Let`s chat about fairings / Call The Pros! (909) 808-4100

Ducati 1098, Back on Track

The Ducati 1098 was made in three models, the 1098, 1098S and 1098R. Production started in 2007 and ceased in 2009. The 1098 was debatably the best Ducati since the original 916. It is a pure, blood red racing machine and is sports bike heaven.

The 1098 pushes out 160bhp with top speed of 180mph, earning its rightful place in the highest insurance group with 0-60mph in less than 3.0 seconds. The 1098’s Testastretta Evoluzione is the most powerful production V-twin engine ever made. It has 92ftlbs of torque at only 8000rpm and has a huge increase in power compared to the 999 and believe it or not, the 1098R is even faster with 180bhp.

Not only is it a speed demon, the 1098 has amazing feedback on the road. The front forks are perfection, which combined with the neutral chassis makes it arguably the best 1000cc class road bike ever. The 1098 will do exactly what you tell it to, whether you’re hanging off the edge or just having a relaxing ride. If you’re looking to spend an extra £2000 ($3400) on top of the £11000 ($18700) price tag, why not go for the 1098S. It comes with Ohlins suspension, upgraded brakes and of course an upgraded engine. But that would just be silly.

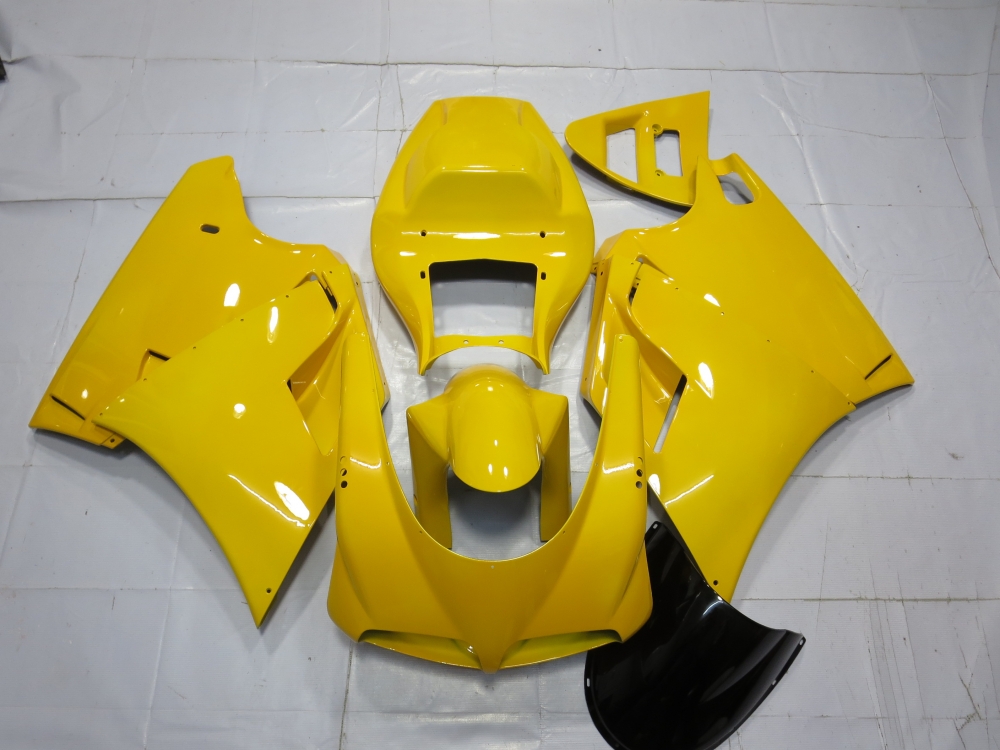
The 1098 is not without its looks. The opposite in fact. It is beautiful. The Ducati 1098 fairings are simply amazing. Sharing design elements with the older 998 than with its predecessor the 999, the 1098 has horizontally placed headlights and a non-integrated exhaust system. It also has the single-sided swingarm from the 916 and 998. The Ducati 1098 fairings came in three colours in true Ducati style. Black, red, yellow and if you went for the special edition 1098S Tricolore they have the Italian flag. In 2009 Ducati produced the 1098R Bayliss Limited Edition due to his win of the 2008 Superbike World Championship. With only 500 units produced, this bike boasted a 180bhp engine, Ducati Traction Control, similar 5-spoke wheels to Bayliss’ original and of course a bit of carbon fibre.

The Ducati 1098’s build quality is sublime as usual. The stigma around Ducati’s being unreliable has been blown out of the water by this machine. With people taking the bike on long tours and having no major problems with the exception of the odd flat tyre. However, the 2007 models did have the occasional problem where they would stall upon slowing down, but this fault disappeared in the 2008 and 2009 models altogether. With straight reliability the 1098’s are on par with any of the Japanese models of the time. So no worries about breaking down and having huge maintenance bills every year. Ducati also implement the “Good Will Warranty” where they will replace any faults in the bike that have not been caused by the user.

Overall, the Ducati 1098 is one of the best Ducati’s to be produced in a while. It has blown the 999 out of the water and made a huge improvement to an outdated design, whilst still incorporating the Ducati spirit. This bike got Ducati back on track, and their bikes have been brilliant ever since.

5 Things You Didn’t Know About CBR Motorcycle Fairings

  1. The First Honda CBR was Designed by Tadao Baba
    The Honda CBR900RR Fireblade was the first CBR bike in the range, designed in 1992 by the famous Honda designer, Tadao Baba. Baba was given the task of creating the ultimate superbike. He started off with choosing a weight of 192kg, and original plans were to use the 750cc engine from previous Honda models. Baba made a commotion with other designers as he tried to stick to this weight; this meant redesigning parts rather than using old ones. Later on they decided to put an 893cc engine in the 900RR, making it lighter than an existing 750cc, but more powerful. The CBR900RR made a new baseline for sports bikes and was so far ahead of its time that it can still keep up with the newer sports bikes.
  1. Stock Honda Fairings Require a Certain Repair Products, Made by 3M

Due to the secret composition of Honda’s fairings, most products used to repair ordinary ABS fairings will not work properly due to the composition of the plastic. Therefore, when working on your original fairings, ensure that you contact 3M and verify that you are using the correct products, as using incorrect ones could damage your fairings. If you have aftermarket fairings that are made from ABS you do not require special products, as long as they are suitable for ABS.

  1. Most CBR Fairings Will Fit on Previous Models
    Over the years CBR fairings have changed shape quite a bit, thus changing the overall shape of the bike. However, the frames haven’t changed that much and this is what the fairings fit onto. It is actually possible to fit aftermarket fairings from later models onto their predecessors, usually with not much work. Within some models the aftermarket fairings will simply fit onto the existing frame, however, in some cases, it may be necessary to change other parts to match, or buy undrilled fairings, so that the holes are guaranteed to line up.
  1. The Aerodynamics in the late CBR Models Come From Honda’s GP Race Development Team
    This isn’t much of a surprise, but the aerodynamics that are used to perfect the fairings in Honda’s Moto GP bikes, has filtered down through the designers to the latest models to make them as aerodynamic and stable as possible at high speeds. Think about it, if a bike that’s going over 200mph can still be stable, so can yours. Also it makes the road legal versions look super cool when you’re driving down the road, especially when the bike is a race replica.
  1. When Fairings are Made, They Don’t Need to be Sanded Before Painting
    When fairings are first made the plastic that has been used has not been previously treated, therefore leaving a blank canvas. All the factory needs to do to paint these fairings is use an etching primer. This primer wears away the surface of the material, like you would by sanding your fairings. Therefore, creating the surface needed for the next few layers of paint. This reduces costs and labour, as less time is needed to paint the fairings.

Removing and Replacing Honda CBR 1000RR Fairings

Removal and replacement of the Honda CBR Fairings can be done very easily. This guide is to help you with the removal of the fairings, to make it seem like a less daunting task.

To remove the Honda CBR fairings, start by removing the two hex bolts on either side of the lower fairing with an allen key. Once all four bolts are removed the fairings may be removed by pushing it towards the rear of the bike.

To remove the main fairings, the nose cone cover above the front fender. Removing the plastic rivets does this. Use a Phillips head screwdriver to remove the rivet in the middle, and either side, this panel can then be removed. This will then give you access to the fixings for the main fairings.  There are then two screws on the inside of the main fairings, one near the bottom, and one near the top. These need to be removed. Then remove the allen bolt on the outer side of each fairing and the one by the handlebars. Finally, remove the screws on the inside of the panels on each side, and then the fairings can be removed.

To remove the nose cone, first undo all of the bolts holding the windscreen in place, and remove the mirrors, ensuring they are disconnected. Then remove the bolts holding the speedometer. Once these have all been removed you can pull the nose cone away. To replace the nose cone ensure you remove all of the fittings inside of them, and transfer them to the new one.

To remove the tail, start by removing the pillion and rider seats. Once this is complete you need to remove the seat strap and the four bolts on top of the rear seat panel. Then the seat panel can be removed by sliding it towards the rear. Once this is complete, unplug the indicators, rear light and number plate light. Then you can remove the rear light by undoing the two screws holding it in place. Once this is done, remove the four M5 allen bolts and remove the under tray. There is then two Phillips screws holding the inner tool tray in place. Once this is done, you can remove the tail unit by pulling it towards the rear of the bike.

To remove the rear hugger, simply undo the hex bolts, including the one under the rear shock absorber and slide it towards the rear of the bike, this will release it from the bike. To remove the front fender, undo the 6 bolts holding it in place, it can then be slid out between the forks. There is no need for the removal of the front wheel. 

Congratulations! You have now removed your old fairings. Take care when installing your new Monster Fairings and I suggest you lay your old fairings out against your new ones to ensure they are correct before installing, but also to ensure any fixings and fittings that need to be transferred are done at this point to save you more work along the way. Good luck!

How to store your motorcycle for the next season

There are several things you can do to make sure your motorcycle is ready for the new season in the best condition possible. This however, requires you to perform a couple of hours maintenance before you put your baby down for winter. In this article I will go over how to make sure everything runs smoothly when the weather starts to warm up again.

Firstly, you need to make sure you have to right supplies for the job. You’re going to need the following:

  • A battery charger that can be safely used for the length of time you are storing the motorcycle.
  • Cleaning supplies including bike cleaner and paint wax, engine cleaner, degreaser, chain cleaner, chain lube/wax, ACF-50, WD-40 and the necessary cleaning tools.
  • Fuel cleaning additive and stabilizer, this is to ensure the fuel lasts the winter.
  • A bike cover, even if the bike is being stored in a garage.
  • Oil and a new oil filter, for best results use an engine cleaner that can be added to your oil before you perform the oil change.
  • Brake fluid and clutch fluid.
  • Coolant
  • If you don’t have a center stand, paddock stands can be useful to lift your tires off the ground to prevent damage.

The first step you will need to do is to prepare your engine for storage. Use a fuel-cleaning additive to clean out your carbs or fuel injectors as per the instructions. This will make sure your engine is in tiptop condition. After this, either empty your fuel tank or run the engine till you are out of fuel. Then fill the tank up with new fuel and add a fuel stabilizer as per the instructions.

The next step is your oil, if possible, add an oil cleaning additive as per the instructions before you perform your full oil change, including the filter. If storing the bike for longer periods (i.e. over six months) remove the spark plugs and pour a table spoon of fresh engine oil inside, then turn the engine over a few times before replacing the spark plugs to spread the oil around, this will ensure your piston and cylinder rings don’t seize. Also ensure you change your brake fluid and clutch fluid at this point and bleed the entire system, as any moisture that may have got in could damage the system. Finally, change your coolant, as old coolant can form deposits within the engine.

Your next task is to clean the bike. You need to make sure than the bike is cleaned and dried entirely, as any moisture left on the bike can cause rusting. If you can, remove any fairings you may have and clean these separately. While you have them off make sure you give the engine a good scrub. Once you have dried the bike, give any metal parts a good spray with ACF-50 to prevent corrosion. Make sure you give the chain a good clean and lube so that it doesn’t corrode while in storage. Finally, apply some wax to your paintwork to keep it in the best condition possible.

One of the last steps is to connect up your battery charger. This can either be done whilst in the bike, or removed from the bike. If you have an acid battery, make sure the cells are topped up. Some battery chargers are able to recondition low batteries, so can be useful throughout the year, not just for storage. 

Finally, ensure your bike is in a safe place, if possible, using a center stand, paddock stands, or even blocks of wood, raise your tires off the ground to alleviate stress on the tires and suspension, also make sure your tires are at the correct pressure, as low temperatures can change the pressure in the tires. Then put your cover over the bike and say goodbye until next year. 

The Honda CBR 600 F4, the Last of a Generation

The Honda CBR600F4 launched in 1999 and was a complete redesign of the CBR600F3. It had an aluminium frame making it 14kg lighter. The list of changes is long: engine, carburettors, breaks, silencer, wheels, immobiliser, headlight and fairings. This makes it much faster than the F3. 

The F4 was the last bike from the CBR family to be carbureted, making it the last of it’s generation. The F4’s upgrades made the bike a lot faster. So much faster that the words, “Dedicated to Super Evaluators Dirk Vandenberg and Josef Boyd”, are embossed in raised letters on the inside of the Honda CBR600F4’s fairings. This dedication was made because two of Honda Research & Development’s senior product developers were killed during the final testing of this model.

The updates seen in the 1999/2000 CBR600F4 saw a noticeably different ride to the F3 and a major upgrade from the F3. The updated CBR 600 F4 was a very comfortable bike, the suspension has a great balance for the road. It is hard enough to enable the bike to be ridden vigorously, but soft enough to enable a smooth, comfortable ride. The GSX-R 600 would be able to out corner the F4, but the GSX-R is a more focused machine and requires a more experienced hand. However, F4 is good for inexperienced and relaxed riders, where the GSX-R is more aimed towards the more crazy riders that get their knee down at any opportunity.

With a top speed of 160mph it can still compete with the fastest of bikes. This bike is still heavy compared to the current bikes, but obviously with the massive change in materials available over the last 20 years bikes are now lighter and easier to throw around on the track. Compared to a 600 RR this bike is very heavy, but when you know how to control it, there is still a lot of fun to be had with the F4. The carburettors on the F4 are smooth, enabling it to easily be controlled on one wheel. The CBR600F4 fairings were updated to make the fuel tank slightly larger and put it up to 18l. This enables the bike to be ridden for around 200km without the need for a fill up.

Like the F3 the F4 is pretty much bombproof, even after 15 years. Still going strong after around 150,000 miles with electrical system being very reliable and the gearbox having no troubles. The problems with the chain after 30-40,000 miles on the F3 were addressed and as usual with regular oil changes and keeping the revs away from the red line there should be no trouble with the rest of the bike.

The CBR600F4 built upon one of the best bikes of the 90s and made it even better. It was the last carbureted bike of the CBR range and was soon to be replaced with a fuel injected model to send the CBR range into the 21st century. The CBR600F4 was truly the last of a generation.

kasyno internetowe

αναληψη χωρις ταυτοποιηση

Pirots 4 casino

Forest Arrow