Let`s chat about fairings / Call The Pros! (909) 808-4100

5 Things You Didn’t Know About CBR Motorcycle Fairings

  1. The First Honda CBR was Designed by Tadao Baba
    The Honda CBR900RR Fireblade was the first CBR bike in the range, designed in 1992 by the famous Honda designer, Tadao Baba. Baba was given the task of creating the ultimate superbike. He started off with choosing a weight of 192kg, and original plans were to use the 750cc engine from previous Honda models. Baba made a commotion with other designers as he tried to stick to this weight; this meant redesigning parts rather than using old ones. Later on they decided to put an 893cc engine in the 900RR, making it lighter than an existing 750cc, but more powerful. The CBR900RR made a new baseline for sports bikes and was so far ahead of its time that it can still keep up with the newer sports bikes.
  1. Stock Honda Fairings Require a Certain Repair Products, Made by 3M

Due to the secret composition of Honda’s fairings, most products used to repair ordinary ABS fairings will not work properly due to the composition of the plastic. Therefore, when working on your original fairings, ensure that you contact 3M and verify that you are using the correct products, as using incorrect ones could damage your fairings. If you have aftermarket fairings that are made from ABS you do not require special products, as long as they are suitable for ABS.

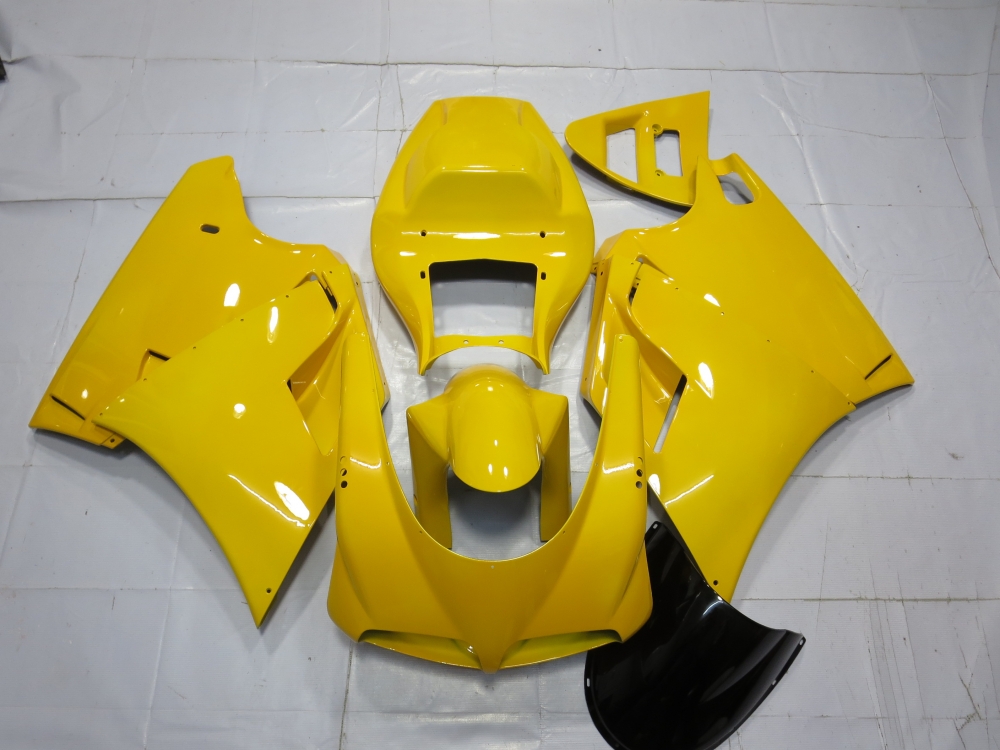
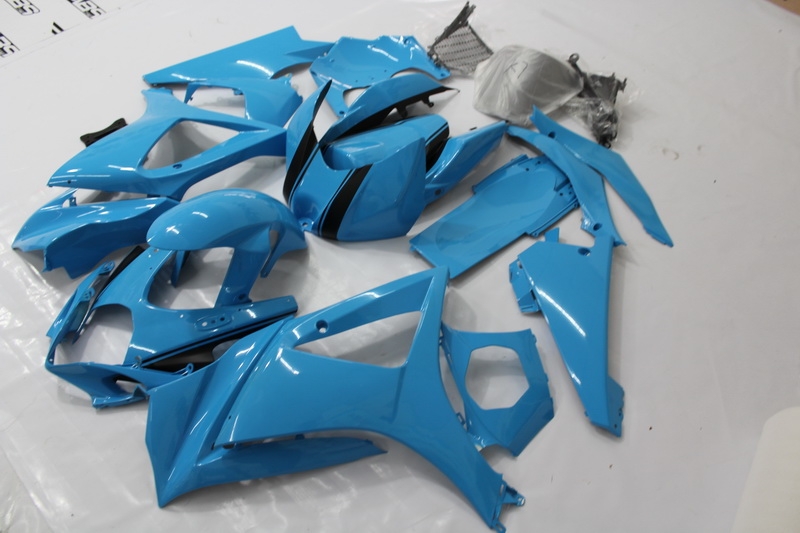
  1. Most CBR Fairings Will Fit on Previous Models
    Over the years CBR fairings have changed shape quite a bit, thus changing the overall shape of the bike. However, the frames haven’t changed that much and this is what the fairings fit onto. It is actually possible to fit aftermarket fairings from later models onto their predecessors, usually with not much work. Within some models the aftermarket fairings will simply fit onto the existing frame, however, in some cases, it may be necessary to change other parts to match, or buy undrilled fairings, so that the holes are guaranteed to line up.
  1. The Aerodynamics in the late CBR Models Come From Honda’s GP Race Development Team
    This isn’t much of a surprise, but the aerodynamics that are used to perfect the fairings in Honda’s Moto GP bikes, has filtered down through the designers to the latest models to make them as aerodynamic and stable as possible at high speeds. Think about it, if a bike that’s going over 200mph can still be stable, so can yours. Also it makes the road legal versions look super cool when you’re driving down the road, especially when the bike is a race replica.
  1. When Fairings are Made, They Don’t Need to be Sanded Before Painting
    When fairings are first made the plastic that has been used has not been previously treated, therefore leaving a blank canvas. All the factory needs to do to paint these fairings is use an etching primer. This primer wears away the surface of the material, like you would by sanding your fairings. Therefore, creating the surface needed for the next few layers of paint. This reduces costs and labour, as less time is needed to paint the fairings.

Removing and Replacing Honda CBR 1000RR Fairings

Removal and replacement of the Honda CBR Fairings can be done very easily. This guide is to help you with the removal of the fairings, to make it seem like a less daunting task.

To remove the Honda CBR fairings, start by removing the two hex bolts on either side of the lower fairing with an allen key. Once all four bolts are removed the fairings may be removed by pushing it towards the rear of the bike.

To remove the main fairings, the nose cone cover above the front fender. Removing the plastic rivets does this. Use a Phillips head screwdriver to remove the rivet in the middle, and either side, this panel can then be removed. This will then give you access to the fixings for the main fairings.  There are then two screws on the inside of the main fairings, one near the bottom, and one near the top. These need to be removed. Then remove the allen bolt on the outer side of each fairing and the one by the handlebars. Finally, remove the screws on the inside of the panels on each side, and then the fairings can be removed.

To remove the nose cone, first undo all of the bolts holding the windscreen in place, and remove the mirrors, ensuring they are disconnected. Then remove the bolts holding the speedometer. Once these have all been removed you can pull the nose cone away. To replace the nose cone ensure you remove all of the fittings inside of them, and transfer them to the new one.

To remove the tail, start by removing the pillion and rider seats. Once this is complete you need to remove the seat strap and the four bolts on top of the rear seat panel. Then the seat panel can be removed by sliding it towards the rear. Once this is complete, unplug the indicators, rear light and number plate light. Then you can remove the rear light by undoing the two screws holding it in place. Once this is done, remove the four M5 allen bolts and remove the under tray. There is then two Phillips screws holding the inner tool tray in place. Once this is done, you can remove the tail unit by pulling it towards the rear of the bike.

To remove the rear hugger, simply undo the hex bolts, including the one under the rear shock absorber and slide it towards the rear of the bike, this will release it from the bike. To remove the front fender, undo the 6 bolts holding it in place, it can then be slid out between the forks. There is no need for the removal of the front wheel. 

Congratulations! You have now removed your old fairings. Take care when installing your new Monster Fairings and I suggest you lay your old fairings out against your new ones to ensure they are correct before installing, but also to ensure any fixings and fittings that need to be transferred are done at this point to save you more work along the way. Good luck!

How to store your motorcycle for the next season

There are several things you can do to make sure your motorcycle is ready for the new season in the best condition possible. This however, requires you to perform a couple of hours maintenance before you put your baby down for winter. In this article I will go over how to make sure everything runs smoothly when the weather starts to warm up again.

Firstly, you need to make sure you have to right supplies for the job. You’re going to need the following:

  • A battery charger that can be safely used for the length of time you are storing the motorcycle.
  • Cleaning supplies including bike cleaner and paint wax, engine cleaner, degreaser, chain cleaner, chain lube/wax, ACF-50, WD-40 and the necessary cleaning tools.
  • Fuel cleaning additive and stabilizer, this is to ensure the fuel lasts the winter.
  • A bike cover, even if the bike is being stored in a garage.
  • Oil and a new oil filter, for best results use an engine cleaner that can be added to your oil before you perform the oil change.
  • Brake fluid and clutch fluid.
  • Coolant
  • If you don’t have a center stand, paddock stands can be useful to lift your tires off the ground to prevent damage.

The first step you will need to do is to prepare your engine for storage. Use a fuel-cleaning additive to clean out your carbs or fuel injectors as per the instructions. This will make sure your engine is in tiptop condition. After this, either empty your fuel tank or run the engine till you are out of fuel. Then fill the tank up with new fuel and add a fuel stabilizer as per the instructions.

The next step is your oil, if possible, add an oil cleaning additive as per the instructions before you perform your full oil change, including the filter. If storing the bike for longer periods (i.e. over six months) remove the spark plugs and pour a table spoon of fresh engine oil inside, then turn the engine over a few times before replacing the spark plugs to spread the oil around, this will ensure your piston and cylinder rings don’t seize. Also ensure you change your brake fluid and clutch fluid at this point and bleed the entire system, as any moisture that may have got in could damage the system. Finally, change your coolant, as old coolant can form deposits within the engine.

Your next task is to clean the bike. You need to make sure than the bike is cleaned and dried entirely, as any moisture left on the bike can cause rusting. If you can, remove any fairings you may have and clean these separately. While you have them off make sure you give the engine a good scrub. Once you have dried the bike, give any metal parts a good spray with ACF-50 to prevent corrosion. Make sure you give the chain a good clean and lube so that it doesn’t corrode while in storage. Finally, apply some wax to your paintwork to keep it in the best condition possible.

One of the last steps is to connect up your battery charger. This can either be done whilst in the bike, or removed from the bike. If you have an acid battery, make sure the cells are topped up. Some battery chargers are able to recondition low batteries, so can be useful throughout the year, not just for storage. 

Finally, ensure your bike is in a safe place, if possible, using a center stand, paddock stands, or even blocks of wood, raise your tires off the ground to alleviate stress on the tires and suspension, also make sure your tires are at the correct pressure, as low temperatures can change the pressure in the tires. Then put your cover over the bike and say goodbye until next year. 

Must Have Motorcycle Fairing Kits

Fairing kits come in many different designs. Whether you want to turn you bike into a café racer, a street bike or even strip it down so it’s naked, there is still a need to consider your fairings. Another reason you would need a fairing kit is if you use your bike on track days a lot, or if you ride it everyday. This guide should help you to choose the latest and greatest of fairing kits available, and help you on your path to bringing your bike back to life.

The latest must have fairing kits for track riders are made from Carbon Fibre. Known in the trade as Carbon Fibre Reinforced Plastic (CFRP), this material is the latest in making your fairings as strong and as light as possible. The aesthetics of carbon fibre fairings are also beautiful. They can be painted like normal fairings in the same way you would paint fiberglass fairings, but to be honest, they are so beautiful; you may just want to keep them free from paint. 

However, most of you will be after ABS fairings, and this will be the majority of the fairings I will talk about. These fairings are what comes as standard on your bike. They are strong and not too heavy. Plus they’re also easy to fix should they break. 

Most fairing kits come in race colours, this is the mainly for the supersport bikes as people are after a way to make their bike stand out, and what’s better than making it look like your favourite MOTOGP bike? These will be the must have for people that are not looking for something to make their bike lighter and faster, but to improve how it looks, maybe if you have a few broken fairings after an accident, or your paint has deteriorated over time. This is the way to go to spruce up your bike for the summer.

The next lot of fairings I will be talking about is the new, all the rage matt coloured fairings. These are becoming more and more standard on newer bikes due to advances in paint over the past few years. These fairings look very nice on all bikes, and may even be a way to bring your older bike into the 21st century. These can even be used to replace your old, heavy dustbin fairings.

Finally, if a whole fairing kit is out of your price range, a good choice for upgrading your bike is using an LED lighting kit. These can be home made and consist of waterproof LED strips, but these fairing lighting kits can make quite a difference to your bike. There are kits available online that can even be controlled by your phone using Bluetooth. This gives your bike a sense of colour at night, and can make you stand out more when out at night. Though do make sure if using them on the road that the law is abided by, as each country and in the US each state has different laws surrounding the colour of light you may display while on public roads.

Motorcycle Fairings

Motorcycle fairings can be made from several different materials ranging from metals, plastics and fibreglass to newer composites such as carbon fibre. The importance of streamlining was known very early in the 20th century. Some streamlining was seen on racing motorcycles as early as the 1920s.

The term fairing came into use in aircraft aerodynamics with regard to smoothing airflow over a components where airflow was disrupted. Early streamlining was often unsuccessful resulting in instability. Handlebar fairings, such as those on Harley-Davidson Tourers, sometimes upset the balance of a motorcycle, causing instability. The introduction on the BMW R100RS in 1976 marked the beginning of widespread adoption of fairings on sports and touring types of motorcycles. Originally, motorcycle fairings were cowlings put around the front of the vehicle, increasing its frontal area. Gradually, over time they became an integral part of motorcycle design. Modern motorcycle fairings increase the frontal area at most by 5% compared to a naked machine. Fairings mostly carry headlights, instruments, and other items. If the fairing is mounted on the frame, mounting equipment on the fairing reduces the weight and inertia of the steering assembly, improving the handling.

Over the years motorcycle fairings have changed in their composition over the years. Most motorcycle fairings are made from acrylonitrile butadiene styrene (ABS). ABS is a plastic commonly used in sport bikes and certain aftermarket fairing manufacturers due to its strong, flexible and light weight properties. The advantage of ABS over other plastics is that it combines strength and rigidity, while also being tough.

There are two common methods of producing an ABS plastic fairing: injection and compression moulding. During injection moulding, ABS plastic is melted and injected into the mould cavity. Constant pressure is applied to allow for material shrinkage. The plastic then cools and hardens in the mould. Injection moulds allows for uniform thickness throughout the entire piece. It gives the most accurate end product that can be produced uniformly every time. This is how we make our fairings at Monster Fairings, as it is the most reliable way to make strong and high quality parts. ABS can also be compression moulded. During compression moulding, the plastic is generally preheated and placed into a heated metal mould cavity and pressure is applied to force the plastic to take the shape of the mould. Heat and pressure is applied until the plastic cures in the mould. The excess plastic is then cut away and removed from the mould. Disadvantages to compression mould include varying product consistency and flashing, which is excess material attached to the moulded part that needs to be removed where two or more parts of the mould meet.

Another option to make motorcycle fairings is using composite materials such as fibreglass and carbon fibre. Fibreglass is made of woven glass fibres, and is used as a reinforcing agent for many plastic products. The composite is known as glass-reinforced plastic (GRP), is normally referred to by the name of its reinforcing material. Fibreglass fairings are commonly used on the race track. In most cases fibreglass is lighter, and more durable than ABS Plastic. Damaged fibreglass can be repaired by applying new layers of woven fibreglass cloth mixed with a polymer such as epoxy over the damaged area, followed by sanding and finishing.

Carbon fibre reinforced plastic (CFRP) is the lightest, but most expensive, fairing material available today. The fairings are made by exactly the same process as with GRP. However, the woven fibres are carbon instead of glass. Carbon fibre has a higher strength to weight ratio than GRP and is mostly used on the race track. Due to this, there is also a reduction in weight and size of fairings, as less material can be used to create fairings of the same strength as other fairings.